
Here's another great DIY project idea from Allison!
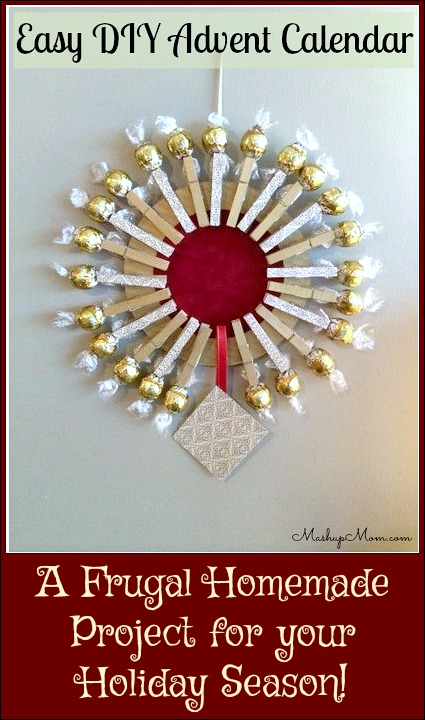
Easy DIY Advent Calendar
How pretty is this DIY Advent Calendar that can be used year after year? The Advent calendars found everywhere from Target to Starbucks are sometimes hard to top in the "oh wow, how cute!" category -- but, after seeing a calendar similar to this on Pinterest, I decided to make my own this year. (Usually my kids get Dollar Tree Advent calendars, so this is actually a bit of an upgrade for them... 😉 )
This DIY Advent Calendar is a super easy project that the kids could help with, too, if you are looking for something to do over a long weekend or to help get them into the holiday spirit. You could even let them make their own in colors that match their room or that are personal favorites, and use their own favorite little candies.
Materials needed + rough cost estimates
Here's what you'll need to recreate this pretty DIY Advent Calendar in your own home.
Materials
Clothespins (24 per calendar), $1.00 for a pack of 50 at Dollar Tree
Round cardboard, cost varies. (I used cake decorating circles, but you could easily save here by cutting a circle out of a sturdy cardboard box. The cake circles run about $4.00 at JoAnn for a package of 10.)
Craft paint, less than $1.00 at JoAnn
Scrapbook paper, less than $1.00 at JoAnn
Ribbon, less than $1.00 at JoAnn
School glue, or a glue gun
Chocolates or candies for each day. Here, I used gold-wrapped Lindt balls that were on sale 2/$6.00 at my Walgreens a couple weeks ago.
Two bags of Lindt balls contained 24 chocolates, so I used 23 chocolates for the calendar and added a little envelope for Day 24. This year I put a Starbucks card in the envelope for my kids because my kids are older & love Starbucks. You could even substitute Tootsie Rolls for younger kids and have a very inexpensive, cute, & reusable calendar!
I actually had most of these materials already handy in my craft stock, so you might, too. I think I spent about $12 on chocolates + Starbucks cards. Everything else I had on hand, but if you don't, the entire project is doable for about $5 per calendar + the cost of the candy you choose to use.
Constructing your DIY Advent Calendar
Here's your step-by-step guide to making your own Advent Calendar.
1) Either paint your clothespins or cover them with scrapbook paper, cut to size and glued to each pin. For my own project I did both, alternating painted & papered pins.

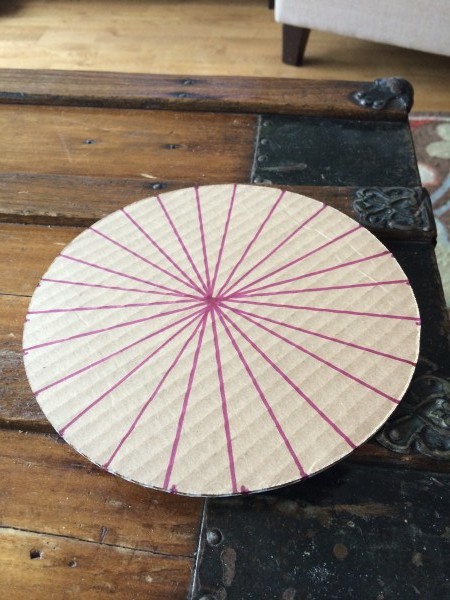
2) While the paint and/or glue is drying, draw 24 evenly spaced lines on your cardboard circle using a dark-colored Sharpie, like this:
3) Cut a contrasting piece of scrapbook paper in a smaller circle.
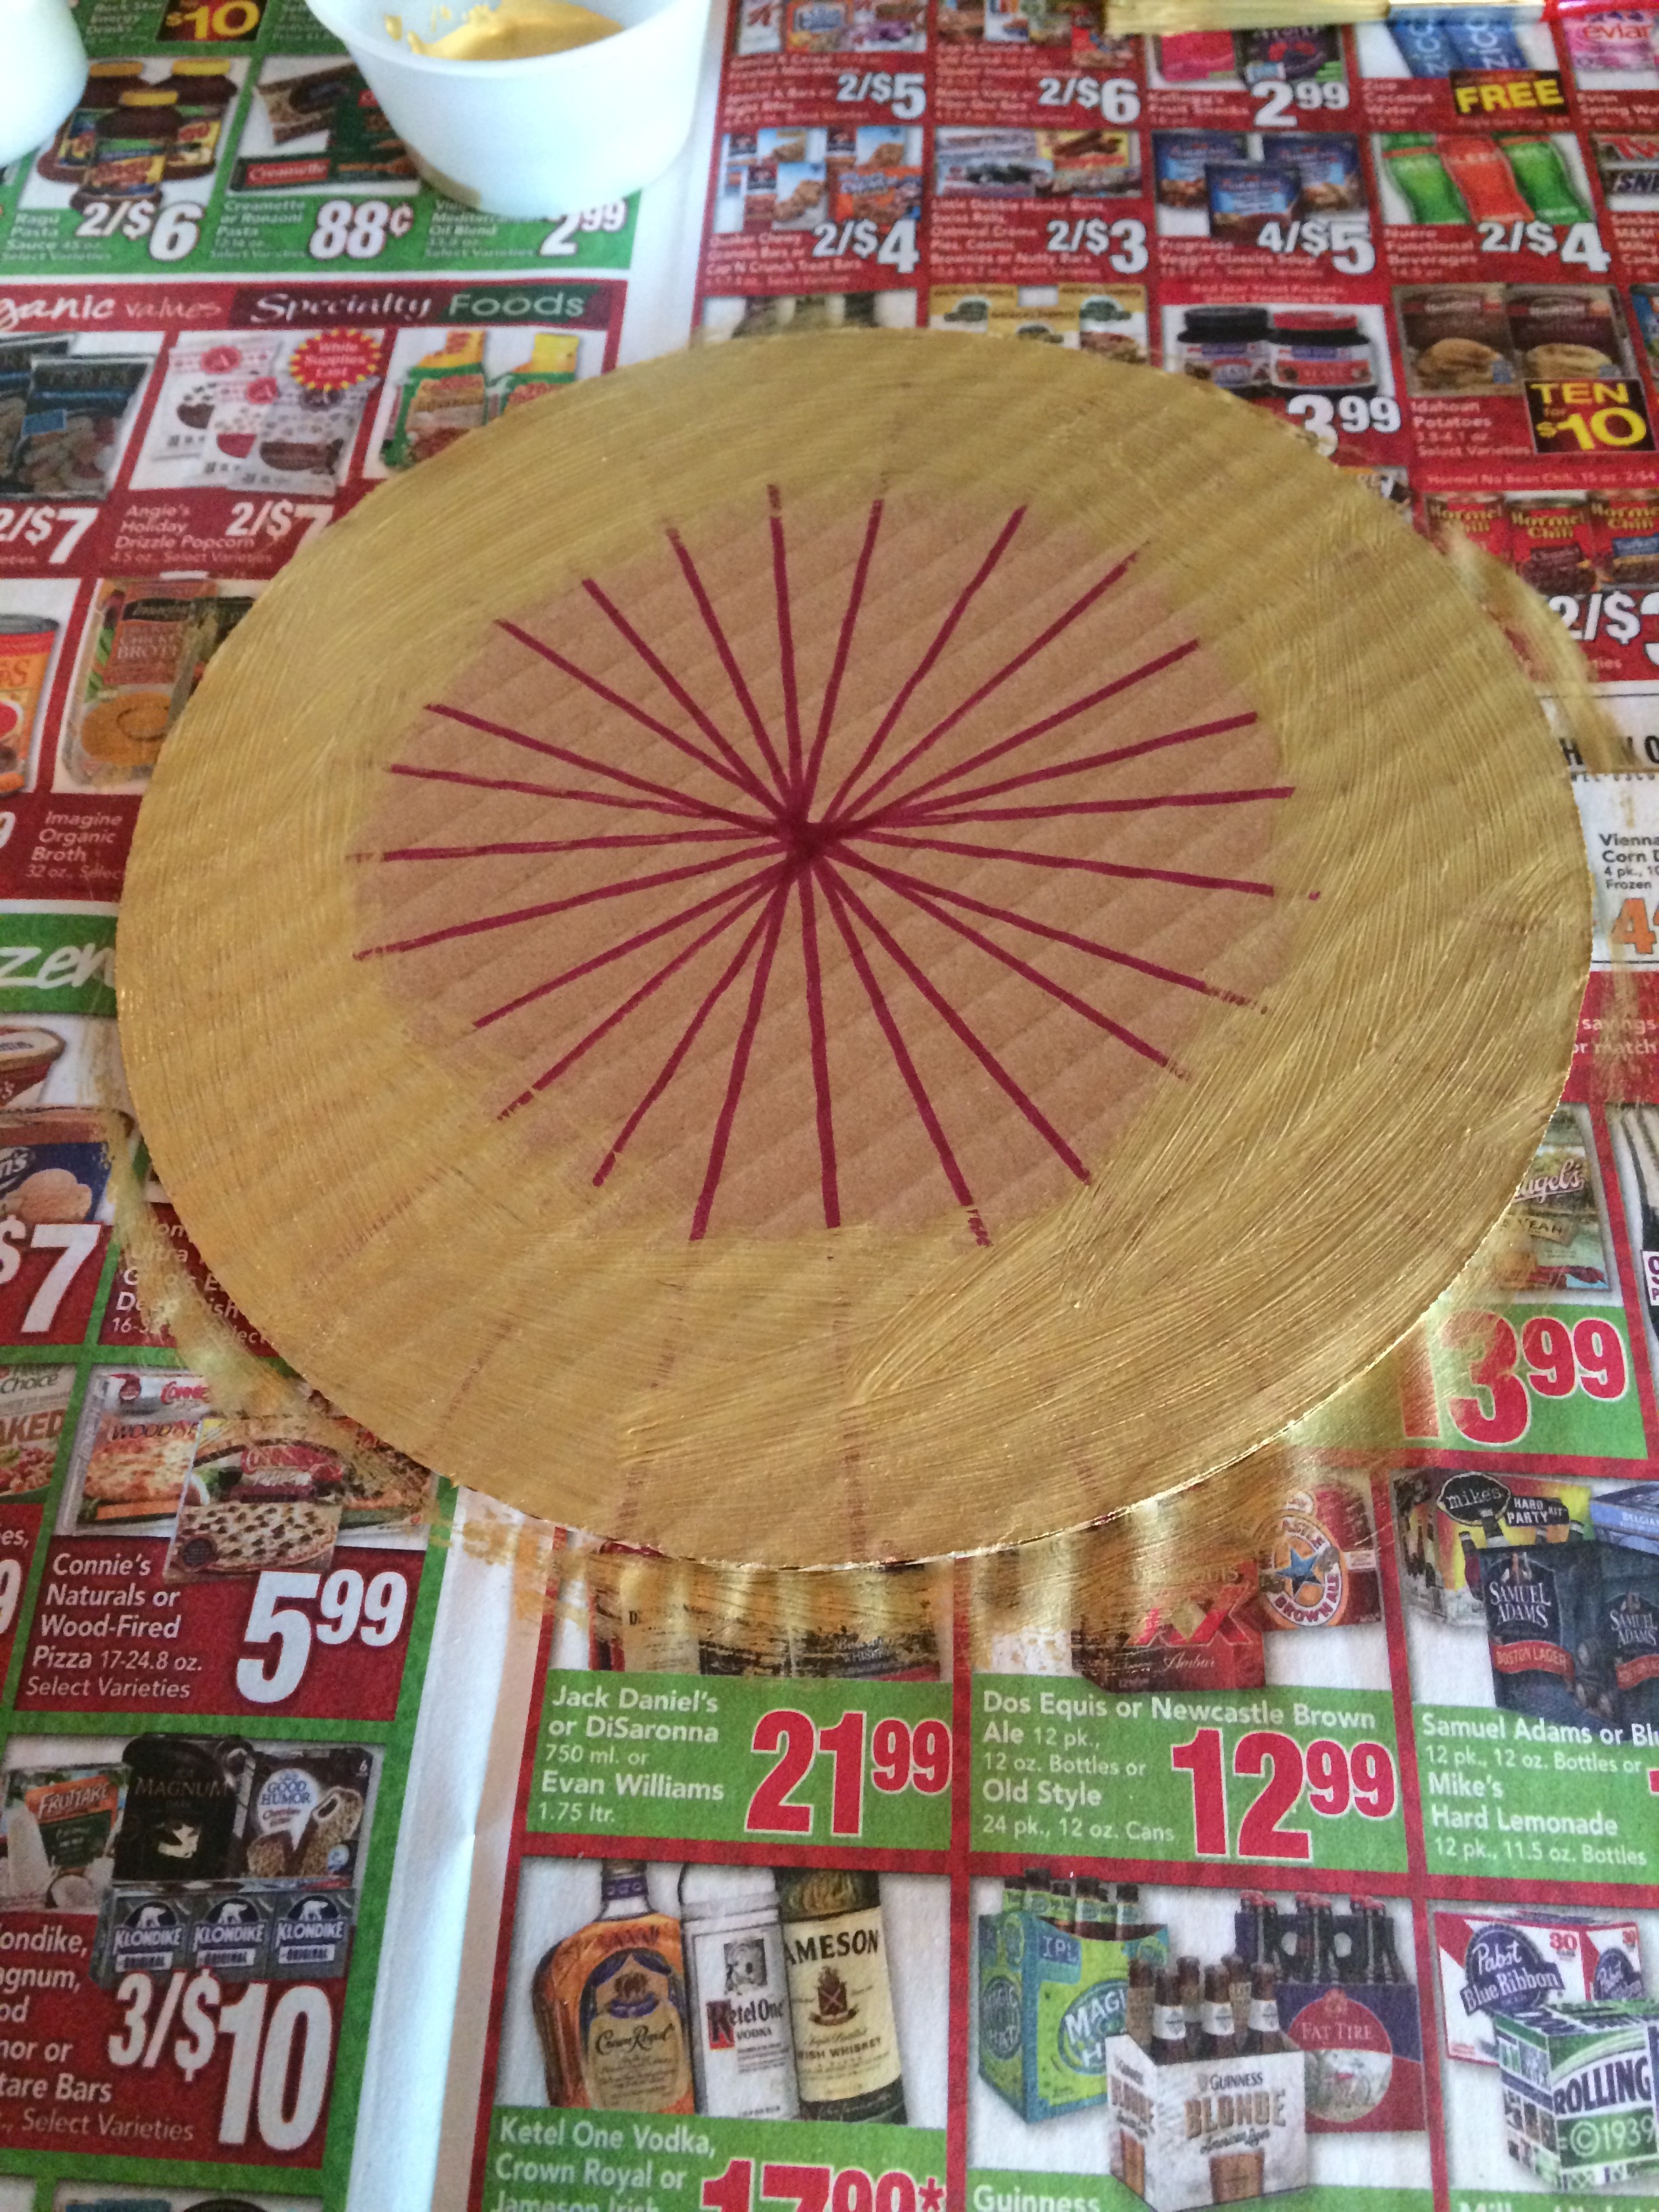
4) Paint the outer edge of the cardboard circle. (I used one coat of gold craft paint, which covered the cardboard nicely but still allowed me to see the lines.)
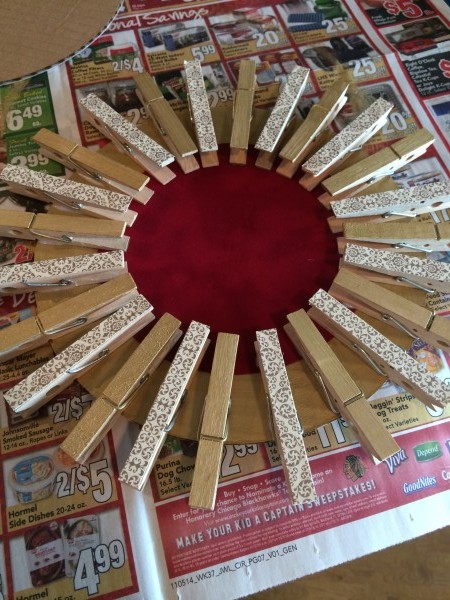
5) Glue the contrasting scrapbook paper to the inner circle
6) Glue the clothespins to each line, using Elmer's glue or a glue gun and using the lines as markers to help you space them evenly.
7) Let the glue dry for several hours.
8) Once it the glue is dry, glue a looped piece of ribbon to the center top of the back of your finished Advent Calendar so that you can hang it in your home.
9) Once your loop is dry, you can just clip the candies onto your clothespins and enjoy!
More Frugal Homemade Ideas
If you’re looking for more frugal homemade ideas and recipes, read more here:
Anything else you’d like to see covered in these categories? Please comment here!
10 Fabulous and Fun Advent Calendars You Need Now! - Uncommon Designs
Saturday 21st of October 2017
[…] A Frugal Handmade Advent Calendar by Mashup Mom […]